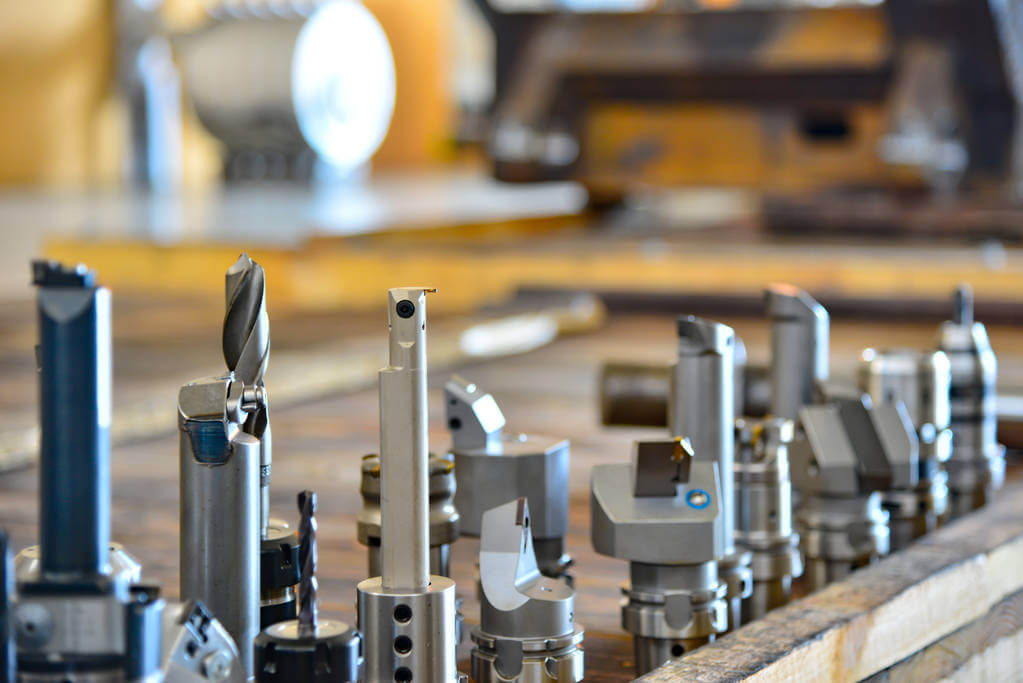
In CNC machining, due to the shape and trajectory of the tool, some deviations may occur in the machining of the parts; usually, certain compensations are made for this deviation during the machining process.
There are three most common types of this kind of compensation, and we will show you below!
Tool Length Compensation
The concept of tool length
Tool length is a very important concept. When we program a part, we must first specify the programming center of the part, and then we can establish the workpiece programming coordinate system, and this coordinate system is only a workpiece coordinate system, and the zero point is generally on the workpiece.
Length compensation is only related to the Z coordinate, it is not like the programming zero point in the X, Y plane, because the tool is positioned by the spindle taper hole and does not change, the zero point of the Z coordinate is different.
The length of each knife is different, for example, we want to drill a hole with a depth of 50mm, and then tap a hole with a depth of 45mm, using a drill bit with a length of 250mm and a tap with a length of 350mm. First use the drill bit to drill a hole with a depth of 50 mm. At this time, the machine tool has set the zero point of the workpiece. When the tap is replaced for tapping, if both knives start processing from the set zero point, the tap is longer than the drill bit and the tapping is too long, which will damage the tool. and artifacts.
If tool compensation is set at this time, the length of the tap and the drill is compensated. After the zero point of the machine tool is set, even if the lengths of the tap and the drill are different, due to the existence of compensation, when the tap is called to work, the Z coordinate of the zero point has automatically moved to Z+ (or Z) compensates the length of the tap and ensures the correct machining zero point.
The work of tool length compensation
The use of tool length compensation is realized by executing commands containing G43 (G44) and H, and at the same time we give a Z coordinate value, so that the tool moves to a distance Z from the workpiece surface after compensation.
Another command G49 is to cancel the G43 (G44) command. In fact, we don’t need to use this command, because each tool has its own length compensation. When changing the tool, use the G43 (G44) H command to give its own tool length compensation. However, the length compensation of the previous tool is automatically canceled.
Two ways of tool length compensation
Use the actual length of the tool as the tool length compensation (this method is recommended). Using the tool length as compensation is to use the tool setting instrument to measure the length of the tool, and then input this value into the tool length compensation register as tool length compensation. The reasons for using tool length as tool length compensation are as follows:
First of all, using the tool length as the tool length compensation can avoid continuously modifying the tool length offset in different workpiece machining. In this way, a tool can be used on different workpieces without modifying the tool length offset. In this case, you can file each tool according to certain tool numbering rules, and use a small sign to write the relevant parameters of each tool, including the length and radius of the tool. In fact, many large machines Processing enterprises all adopt this method for tool management of CNC processing equipment. For those companies with special tool management departments, there is no need to tell the parameters of the tool face to face with the operator. The tool length value on the label is used as tool length compensation without further measurement.
Secondly, using the tool length as the tool length compensation can allow the machine tool to measure the length of other tools on the tool setting instrument while the machine tool is running, without taking up the running time of the machine tool because of the tool setting on the machine tool, so that the machining can be fully utilized. center efficiency. In this way, when the spindle moves to the programmed Z coordinate point, it is the spindle coordinate plus (or subtracted) the Z coordinate value after tool length compensation.
Use the distance value (positive or negative) between the tool nose and the programmed zero point in the Z direction as the compensation value. This method is suitable for use when the machine tool is operated by only one person and there is not enough time to use the tool setting instrument to measure the length of the tool. In this way, when another workpiece is processed with one tool, the setting of the tool length compensation must be performed again. When using this method for tool length compensation, the compensation value is the tool nose movement distance when the spindle moves from the Z coordinate zero point of the machine tool to the workpiece programming zero point, so this compensation value is always negative and very large.
Tool Radius Compensation
The concept of tool radius compensation
Just like using the tool length compensation, we basically don’t need to consider the length of the tool when programming, because of the tool radius compensation, we don’t need to consider too much the diameter of the tool when programming. Tool length compensation is applicable to all tools, while tool radius compensation is generally only used for milling tools. When the milling cutter processes the outer or inner contour of the workpiece, the tool radius compensation is used, and when the end face of the workpiece is machined with the end milling cutter, only the tool length compensation is needed. Because tool radius compensation is an instruction that is difficult to understand and use, many people are reluctant to use it in programming. But once we understand and master it, using it will bring great convenience to our programming and processing.
When the programmer is going to compile a program to process the shape of a workpiece with a milling cutter, firstly, the coordinate value must be carefully calculated according to the shape size of the workpiece and the radius of the tool to clarify the route taken by the center of the tool. The tool radius used at this time is only the radius value of the milling cutter. After hard work on the program, it is found that the milling cutter is not suitable for changing to other diameter tools, and the programmer has to work hard to recalculate the tool center The coordinate value of the route taken. This is not too much of a problem for a simple workpiece, and recalculation is simply too difficult for a mold with a complex shape.
The shape processing of a workpiece is divided into roughing and finishing, so that after the roughing program is compiled, the roughing is completed. Because after rough machining, the outer dimensions of the workpiece have changed, and then it is necessary to calculate the coordinates of the tool center for finishing machining, and the workload is even greater. At this time, if tool radius compensation is used, all these troubles will be easily solved. We can ignore the tool radius and program according to the workpiece size, and then put the tool radius in the radius compensation register as radius compensation. Whether it is a temporary replacement of the milling cutter or rough and fine machining, we only need to change the tool radius compensation value to control the size of the workpiece, and basically do not modify the program at all.
Use of tool radius compensation
The use of tool radius compensation is executed through commands G41 and G42. Compensation has two directions, that is, compensation is performed on the left and right sides perpendicular to the cutting feed direction of the tool, which conforms to the left-hand rule; G41 is left compensation, which conforms to the left-hand rule; G42 is right compensation, which conforms to the right-hand rule, as shown in Figure 3 shown. Figure 3 The left and right hand rules used in tool radius compensation When using G41 and G42 for radius compensation, special attention should be paid to the tool movement direction and coordinates that make the compensation effective. The starting position of tool radius compensation is very important, if the path processed by improper tool is easy to make mistakes
Fixture Offset Compensation
Just as tool length compensation and radius compensation allow the programmer to use fixture offsets regardless of the length and size of the tool, fixture offsets allow the programmer to use fixture offsets regardless of the position of the workpiece fixture.
When a machining center is processing small workpieces, the tooling can clamp several workpieces at a time. The programmer does not need to consider the coordinate zero point of each workpiece during programming, but only needs to program according to the respective programming zero point, and then use the fixture Offset to move the programmed zero point of the machine on each workpiece. The fixture offset is executed by using the fixture offset commands G54~G59. Another method is to use the G92 command to set the coordinate system. After one workpiece is processed, use G92 to reset the new workpiece coordinate system when processing the next workpiece. The above are the three kinds of compensation commonly used in CNC machining, which bring great convenience to our programming and processing, and can greatly improve work efficiency.
Hope the above content can give you a little help!


